
This is actually a fairly easy art form, I’m hoping to give you the basics and then as
creative as you all are will allow you to spread your wings and fly, it is fun
and produces a unique product that many people do not know how to do as it is
becoming a bit of a lost art. Let’s
start with the tools that you will need:
·
You
will need a stylus, many people use a metal stylus and they work just fine, I use a
plastic one for no real reason other than it is what I’ve always used. My stylus
has a pointed end and a flat end, one side is for embossing while the other
side is for debossing or erasing. Yes
you can erase mistakes if you make them however be aware that you are
stretching the tin and you can only do so much stretching before you no longer
can return the tin to its original flat shape. I use the example of
stretching your clothing, if you keep stretching the fibers of your clothing it
eventually no longer returns to its original shape.
· Texture tools which will allow you to add interesting textures to your
piece. Dick Blick and the Ten Second
Company have a number of videos that you can watch on how to use some of these
tools. A flat brayer will roll over your
tin flattening the tin because it will tend to want to curve up as you
work. This roller should have a soft
feel to it otherwise it may flatten your texture although as I stated above your
fingers work just as well. This tool is
a miniature version of a printing brayer. Don’t confuse the two.
·
Border
pieces work as a rubbing plate and then as you refine your design add
interesting texture. These work best
when used with a blending staub for drawing to transfer the design and then to
softly add the detail. The border tools
that I have are from the Ten Second Studio but there are a number of good tools
out on the market. My third grade
students used both the texture tools and the border pieces on these pirates.
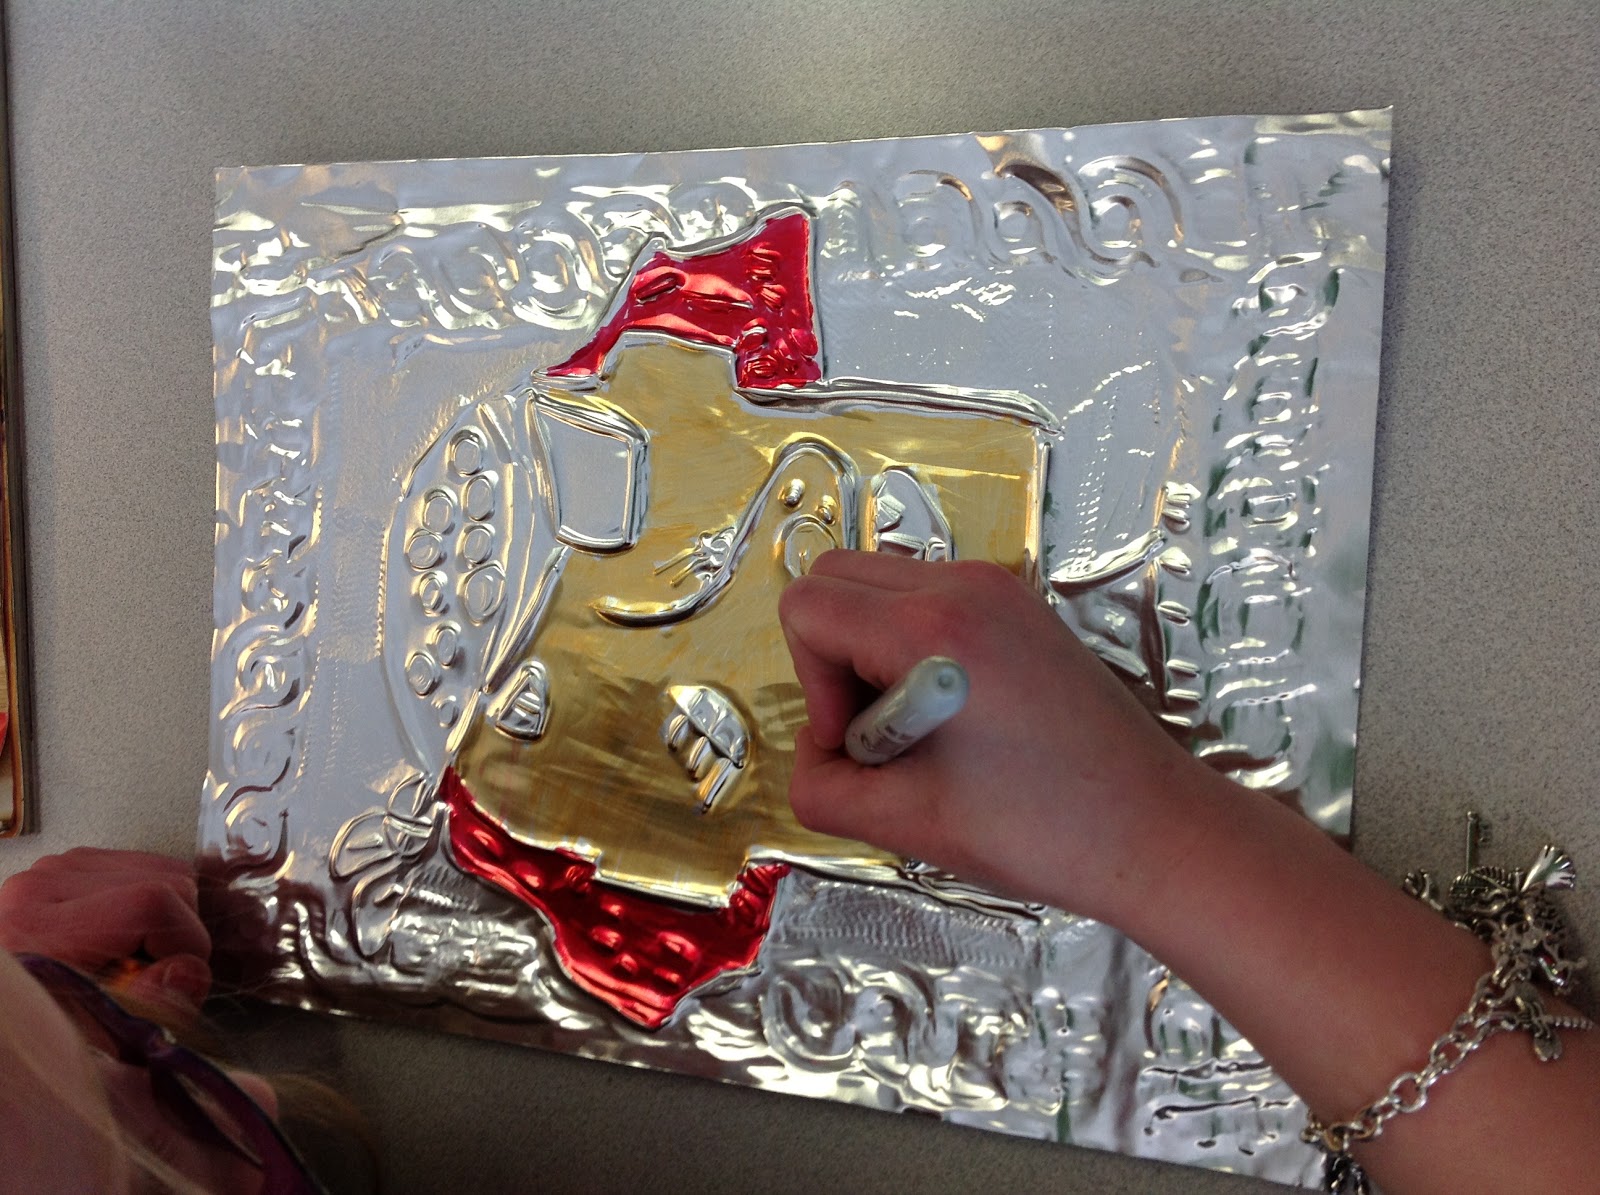

You can see a knight that another student is busy designing that will be completed using tin.
No comments:
Post a Comment